If you don’t need anything too fancy – maybe you just need a quick cover for your free eBook – then Microsoft Word has some nifty templates you can use.
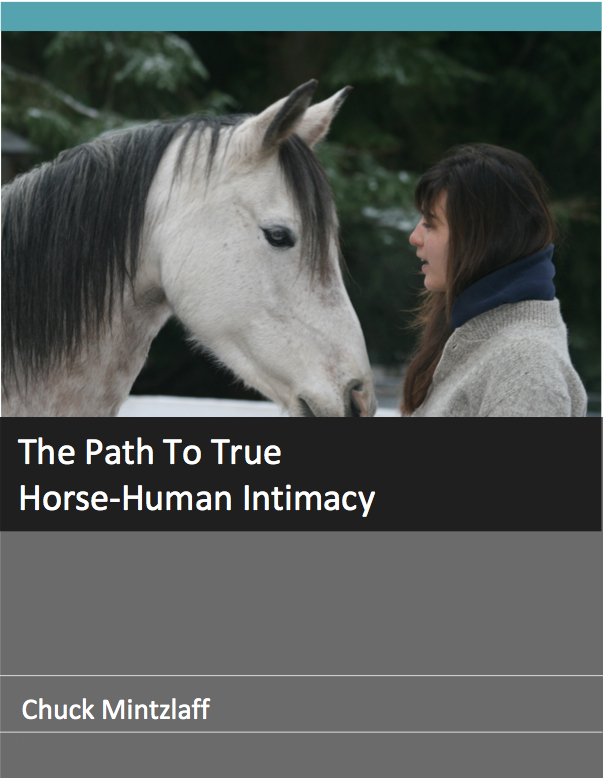
For this next project, I used Microsoft Word to create an eBook template that I use for a lot of my free eBook give-aways. It may be simple, but it looks clean and professional. And keep in mind my audience for this freebie – the design doesn’t matter so much, they are just really keen (and sometimes desperate) for the information.

For your eBook, you might want to do something a little more glamorous and have an image or some slicker graphics.
There are many templates in Microsoft Word that you can customize to your liking – you can change the font style, size, color and also change images, borders, or background colors.
Simply open up a Microsoft Word document and then click on GALLERY:

Choose from any of the templates you see lined up in a row – Microsoft Word calls these Cover Pages.
Let’s say you choose this template, or Cover Page:

You can easily change the photo to customize it, by right-clicking on the image, then select: CHANGE PICTURE. Like this:

Or, you can just drag and drop a new picture over top of the existing one – not as reliable as “Change Picture” but it can work!
Here’s what it looks like when I have changed the picture and also the color and size of the font for my name:

Pretty spiffy hey? And honestly, that took about 5 minutes.
You then drop in your text on the next page, or start typing your text, and when you’re finished, you save it as a PDF. Done! How easy is that? ~ Love it! ~
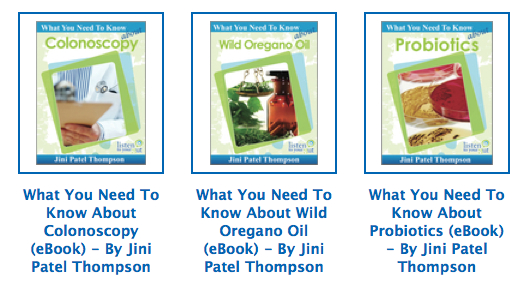
Here are two more eBook covers I created using Microsoft Word:

If you have a Mac, you can also use Pages to create some nifty DIY (do-it-yourself) cover templates for your eBooks.
That said, you can also use a great online DIY design tool – Canva which is just superb, easy to use, and mostly free (they charge only for premium pictures and designs, which are still very gently priced). They are especially great if you’re needing lots of social media or blog graphics, but really they’ve got you covered for just about anything.
Here’s a graphic I whipped up in three minutes just to show you how cool Canva is:


 2. She then drew out her cover idea, and used a graphic designer (sourced on
  3. Finished Cover:


 The simple way to launch a new product or program is to let your email list (including blog subscribers) know about it by:
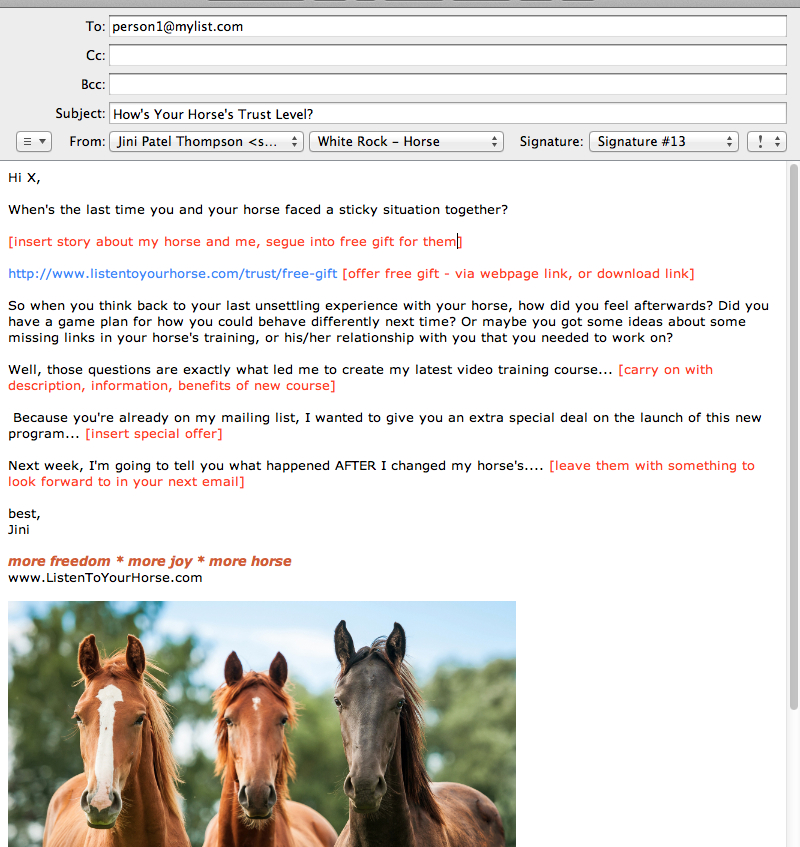


 So, for a more complex product launch, you need to have at least these five elements in place:


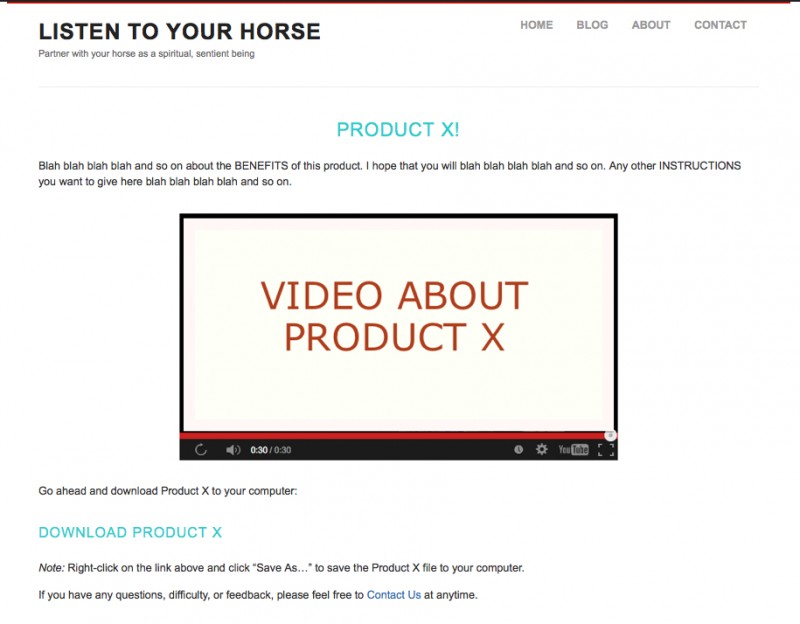
 Some people have a landing page that only offers one option – for example they want the visitor to sign-up for a free audio, or video. There are no other options or links available on the page. That’s what I showed you in the Listen To Your Freedom example above. Statistically, that method works.
 Here’s a way to ensure that the people you would love to joint-venture with (have them promote your product to their list) agree to do so: By making them part of your product!
 There are three things I want you to notice about this email:

 Every week do a Q&A video. Each video features one of your customer’s FAQs (but remember, you DON’T EVER call them FAQs or Q&A! You simply present the question or the topic. The video could either be you presenting live, or a PowerPoint video, or a screenshot video, with your voice accompanying it. You can publish these single-topic videos to your public YouTube account – which will also help you generate search engine traffic for these topics (videos often rank higher in search engines than text, as there is less competition).
 “When I was creating my very first product, an eBook for my site at
  as an eBook, or printed book.
 In this unit we’re going to look at different methods you can use to secure your digital content – whether you’re emailing it out, or hosting it on your website.
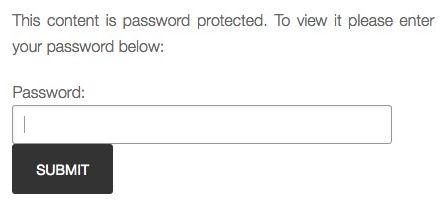
 Let’s say you have made a video to go along with your eBook, or MP3 audio. Because people have paid money for this product, you don’t want to just put the video up on your regular YouTube channel where all your people can see it. So how do you get that video to your customer – or the person who opted-in to your offer – yet keep it private, or ‘more’ private?


 You may have noticed how, throughout the Listen To Your Freedom program, I keep telling you to focus on getting people to opt-in or sign-up to your email list. I tell you over and over again how this is the backbone of your ability to develop a relationship with your site visitors and how this relationship will eventually turn into sales. Sound familiar?

 Now, what if you are selling a fiction book?

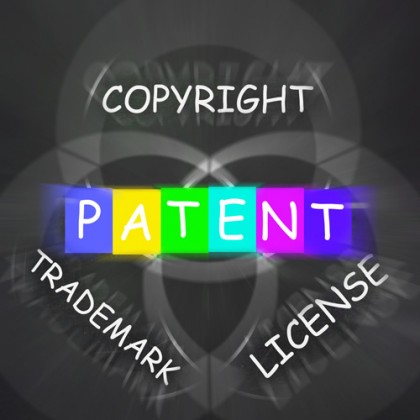 There are a number of items that need to be in place for you to be considered the legal owner of your creative work – anything literary, musical, dramatic or instructional. Obviously, your creative work can be in physical or digital form. Before you start selling your book, or program or audio in the marketplace – or even giving it away for free – you want to be legally recognized and protected as the owner and creator of that piece of content. So before we get started, let’s just go over the different types of products and how they can be protected:
 Your Copyright Notice
 Type this into Google: how to register book copyright in [your country] or how to register DVD copyright in [your country] For a printed book, it’s a good idea to register your copyright, even though it isn’t required, for these reasons:
 Personally, I wonder if it would change things that much if I also paid to have a copyright certificate as well? Especially when the government agency who issues your copyright plainly states, “please note that the Copyright Office is not responsible for policing or checking on registered works and their use, nor can it guarantee that the legitimacy of ownership or the originality of a work will never be questioned.”? What’s the value of a “copyright” when the legal, issuing body has not even checked whether the work has already been copyrighted by someone else?
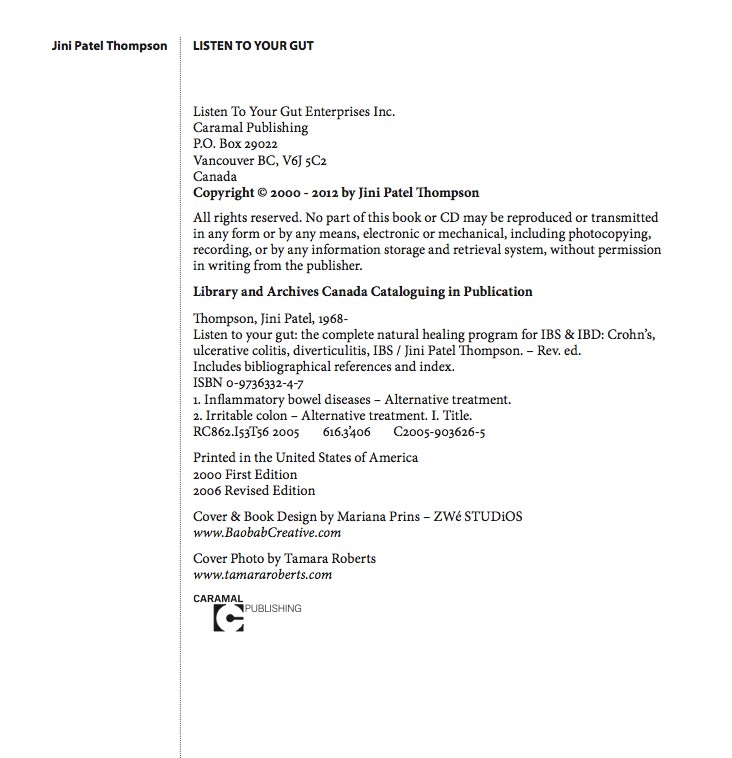
 R.R. Bowker, LLC – US ISBN Agency
 Technically, you are supposed to issue a new/different ISBN for each version of your book. So your printed book has one ISBN, your eBook has a different ISBN, your Kindle book yet another ISBN, and so on. But as I told you above, many digital retailers don’t require you to have an ISBN in order to carry your book, so it is not crucial – although that may change at any time!
 Encoded within is whatever information you wish to have encoded, like price, description, ISBN number, etc. If you are selling your book, DVD, CD or products on your own site, you do not need to have a barcode on your products. However, if you are selling on Amazon (for example) you need to have either a bar code, or an ISBN. If you are selling in a physical retail store, you will need to have both an ISBN and a bar code. Obviously, if you are selling teddy bears (for example) in a store or on Amazon you don’t need an ISBN, you only need a bar code.

 Book Disclaimer Notice
 Before we get into the how-to’s, I just want to define a few of the terms we’ll be using:
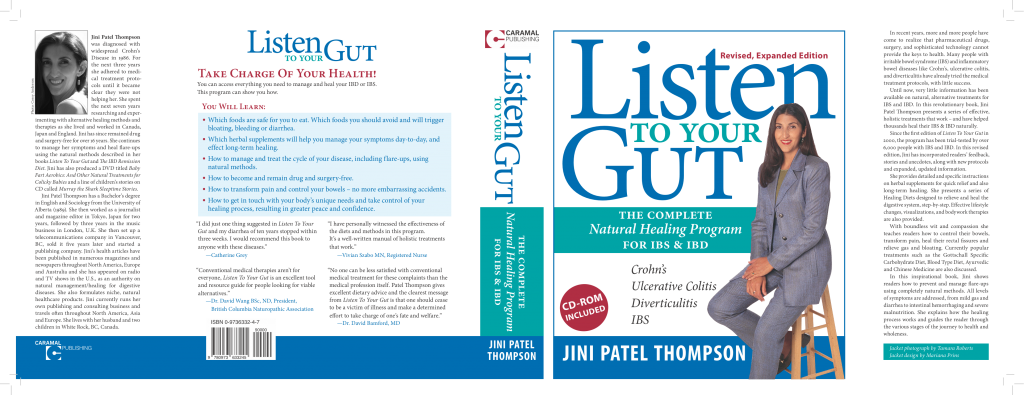

 Selling Your Book
 I like to have a lot of control over my book layout and cover design, so I would go with Publisher Path #2. BUT I would also like to test out CreateSpace’s distribution network. So I would actually publish two versions of the same book, with two different ISBNs. For the first I would use the free ISBN assigned by CreateSpace, as that would put me into CreateSpace’s distribution network. For the second version, I would use my own ISBN – and that is the one I would sell on my website and submit to libraries (if I wanted to) and other e-reader platforms like Nook and Smashwords. Then I would track my sales and see if anything interesting happened with the CreateSpace version!
 account your audience, your product positioning, and how you expect readers will use the book. Let me explain…
 My publishing company (Caramal Publishing) has been running since 1999, and we’ve published 16 books, plus CDs and DVDs, so I’ve had a fair bit of experience and tried a number of different methods.
Recent Comments